我們現在可以透過 Horizon網頁介面建立 instance,但在建立之前會配置一些安全性設定,例如在 Security Group 開啟什麼協定能允許外部進入instance,大家可以看作 Linux Iptables (內置防火牆)一樣控制 Linux 進出的協定,當然要進入instance一定需經由 Floating IP。
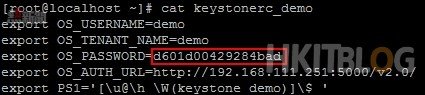
Step 1:大家先在 Public network admin 電腦使用 putty 進入,因為我們會用 demo 帳戶登入 Horizon,所以利用 source keystonerc_demo 查看密碼。
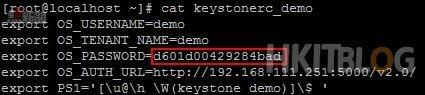
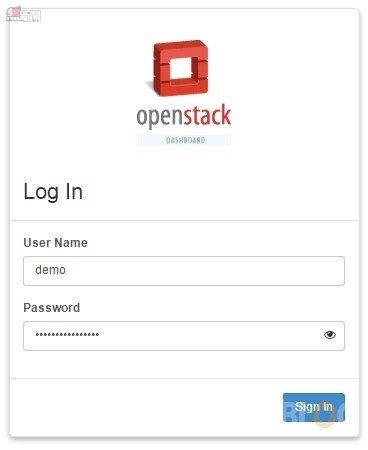
Step 2:接著在瀏覽器(筆者是使用Chrome) 輸入【http://192.168.201/dashboard】進入 Horizon 登入頁面,然後輸入 demo 登入資料。
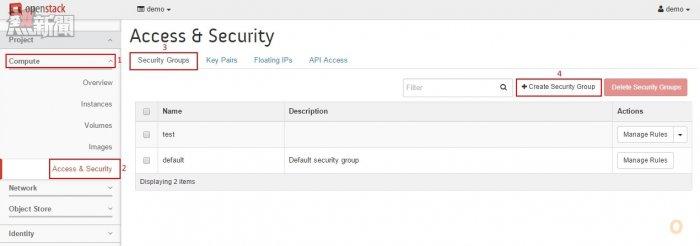
Step 3:首先配置安全性,請按左方【Compute】→【Access & Security】,再在右方的上方按【Security Groups】,在這裡可新增防火牆協定給 instance,請按【Create Security Group】按鈕。
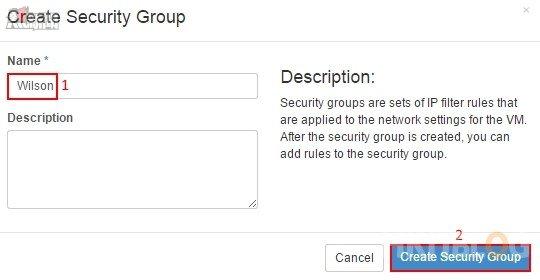
Step 4:接著輸入 Security Group 名稱,示範名稱為【Wilson】,然後按【Create Security Group】按鈕。
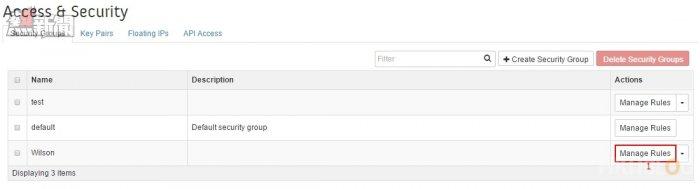
Step 5:跟著在剛新增的「Wilson」Security Group按【Manage Rules】按鈕。
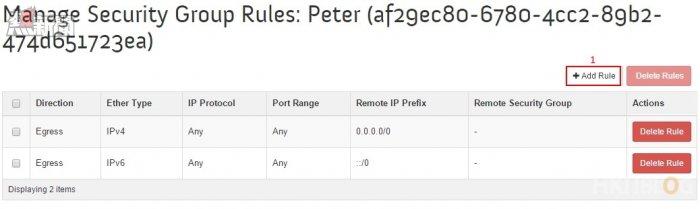
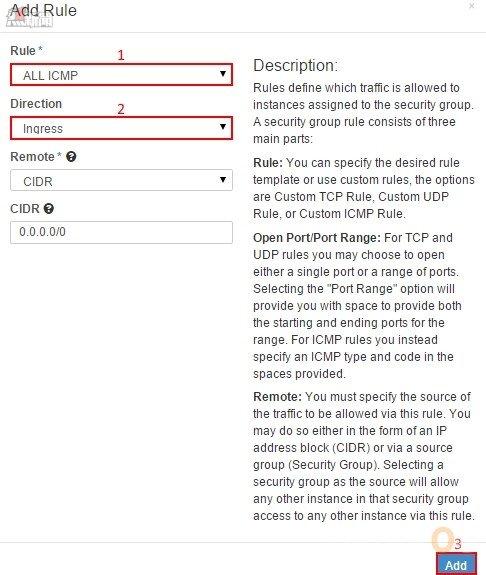
Step 6:我們需加入Ingress (進入)規則,請按右上方【Add Rule】按鈕。
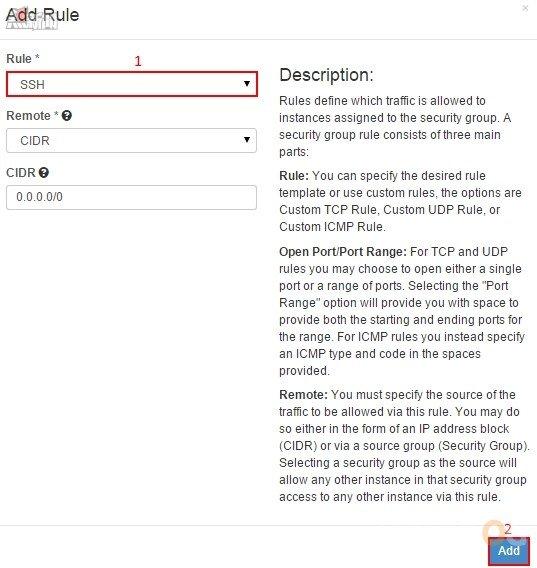
Step 7:我們會加入兩條規則,分別是 SSH 和 ICMP,讓外部可利用 SSH 遠端連入 instance。
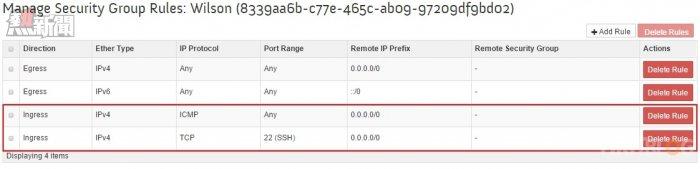
Step 8:成功新增該兩條規則。
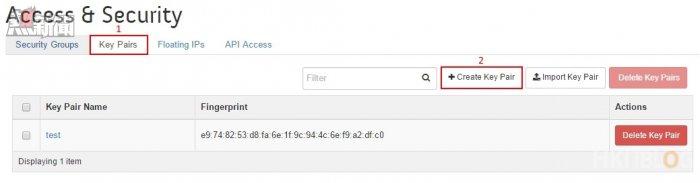
Step 9:然後按上方【Key Pairs】,因為經由 SSH遠端連入 instance 時需要 Private Key,請按【Create Key Pair】按鈕。
Step 10:接著輸入 Key Pair 名稱,示範名稱為【Wilson】,然後按【Create Key Pair】按鈕。

Step 11:Chrome 會自動下載該條 Key pair。

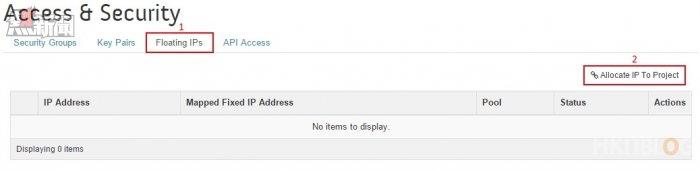
Step 12:再在上方按【Floating IPs】,我們會在下一篇教大家在外部經由 SSH 的 Key Pairs 連入 instance,因此會在這裡先配備一個 floating IP,請按【Allocate IP To Project】按鈕。
Step 13:大家還記得在上一篇輸入以下 Neutron 指令?
neutron subnet-create –name public_subnet –enable_dhcp=False –allocation_pool start=192.168.111.140,end=192.168.111.150 –gateway=192.168.111.1 public 192.168.111.0/24 。
而 –allocation_pool start=192.168.111.140,end=192.168.111.150 是指 public Pool 可分配多少個 floating IPs,請在 Pool 選擇【public】,然後按【Allocate IP】按鈕。
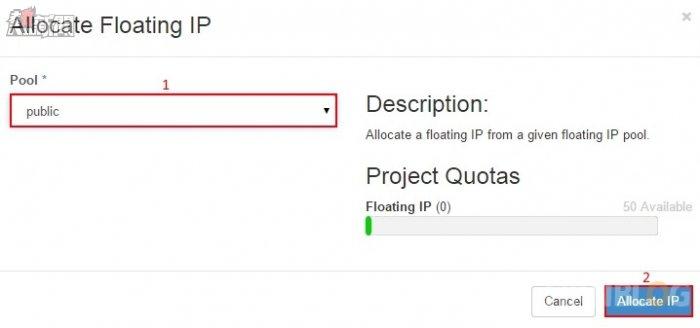
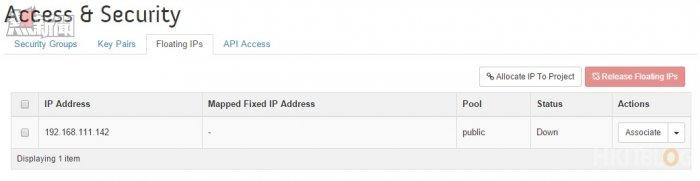
Step 14:系統會自動產生一個 floating IP 在 192.168.111.140 – 192.168.111.141 範圍內。
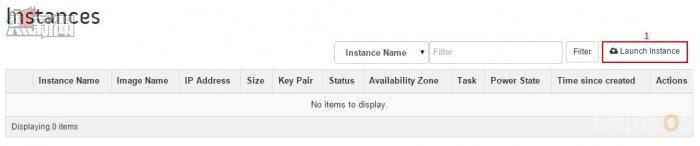
Step 15:終於可以建立 instance,請在左方按【Compute】→【Instance】,再在右方的上方按【Launch Instance】按鈕。
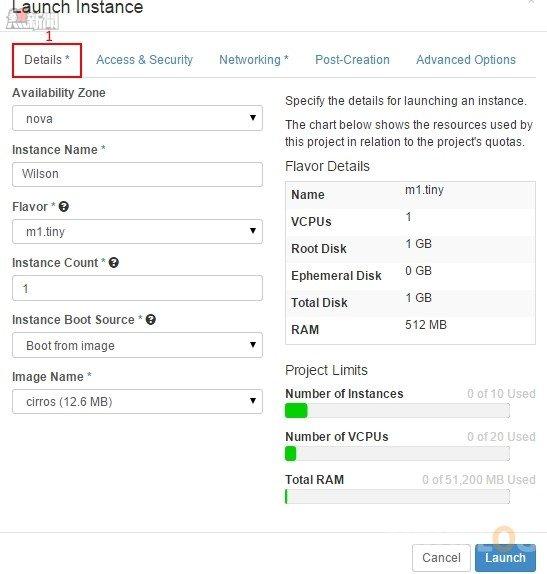
Step 16:在上方按【Details】,這裡是輸入 instance 的資料,先在 Instance Name 輸入【Wilson】;Flovor 是指資源 template,而【m1.tiny】有 1 VCPU、1GB Harddisk 和 512MB Ram;Instance Boot Source選擇【Boot from image】,下方是選擇【cirros(12.6 MB)】映像,安裝 RDO 時已經幫我們弄好。
Step 17:然後按上方【Access & Security】,選擇剛新增的【Wilson】規則。

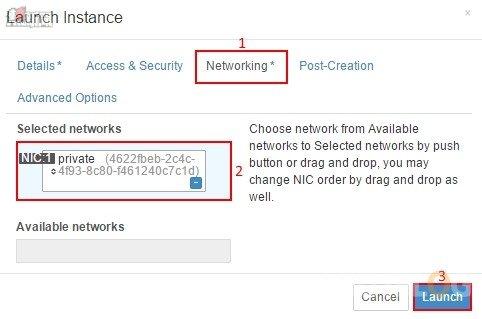
Step 18:再按上方【Networking】,這裡是指這個 instance 是使用那一組內部網段,請選擇【private】網段,然後按【Launch】按鈕。
Step 19:系統開始建立 instance,在「Task」顯示【Spawning】,大約幾分鐘即可完成。

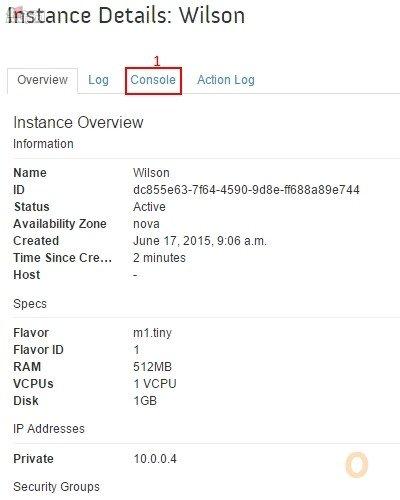
Step 20:建立成功後會在「Power State」顯示【Running】,表示 instance 正常地運作,然後按【Wilson】名稱進入。

Step 21:接著按上方的【Console】,我們會在網頁介面嘗試登入instance。
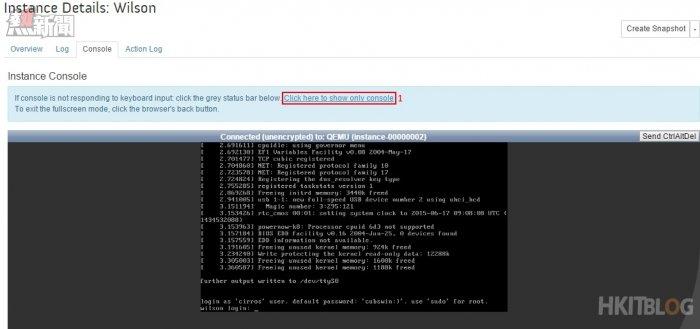
Step 22:因為需要顯示全螢幕才可以控制 instance,請按【Click here to show only console】。
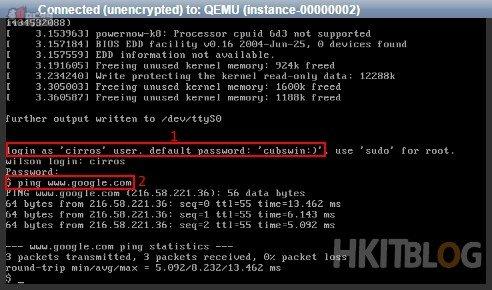
Step 23:Cirros instance 已經給了我們登入資料【登入使用者名稱:cirros / 密碼:cubswin:)】,登入後測試 ping Google 是否成功。
建立 instance 和安全性事項已經完成,下一篇教大家在外部使用 Putty 經由 floating IP 連入 instance。
(第五篇) OpenStack 配置複雜到「跌渣」!RDO 懶人包解決一切煩惱 – 建立 instance
https://www.facebook.com/hkitblog